
Propagating Japanese Red Maple trees is an exercise in patience. It is a several months long process beginning with delicately collecting the seeds from the tree in November (possibly October depending on your hardiness zone). I have seen where others do this will some variations, including putting them into a peat/sand mixture and storing at room temperature for the 90 days before moving them to the fridge for 70 days. This is simply how I have done it and in my climate, it works for me. I get my seeds from a tree in my Mother-In-Law's front yard. You want to get them when they are no longer green, but still clinging to the tree. It's a fine line here.. I have to try to time my collection so I get them when they are ready, but before the wind rips them from the branches and hurls them to the heavens. It is near impossible to find them on the ground once the wind begins to blow because the helicopter seeds fly away!
So you collect as many seeds as you can in October or November. You climate will have a say in that. Just watch for them to not be the reddish green. They will be brownish in color. Gently pluck them from the tree and put them into an envelope or plastic baggie. Then put them in cool dark place away from extreme changes in temperature. I have utility room with cabinets and one of them is my "seed cabinet" where I store all my seeds each year. Once you've collected them you can pretty much for get about them for a few months. Depending on when it begins to warm up in your area, will determine when you begin the process of stratifying your seeds. This is the process of tricking them into thinking they have endured a cold winter. For me, I try to start this process in early to mid February so they are sprouting in May. You basically figure when you want to be planting, then count back 3 months, giving you your start time.
I started mine on February 20 (about a week later than I like)
 Begin by taking the seeds out of the bag and start breaking of the "helicopter" or wing. I just use my thumb nail and finger to snap them off.
 After you have snapped off all the wings, drop the seeds into a bowl of warm to hot water. You don't have to boil it or anything. From the faucet is fine, just run it as hot as it will go. This step serves to soften the outer coating of the seed so moisture can penetrate and germination can begin.
 Now just leave it to sit for 24 hours.
~~~~~~~~~~~~~~~~~~~~~~~~~~~~~~~~~
After the 24 hours.......
 Instead of the peat and sand mixture I have read about, I use good soil and I mix in some coffee grounds and eggshells for an extra boost. It a trick I use in my outdoor garden as well and it has yielded great results for me.
I mixed up this and it was about 3 cups, so I mixed another 4 cups. I like to have the bag about half full of soil.

 It's nothing fancy. I just mix the grounds in good and crush up the egg shells into small bits. Be careful. They can be very sharp and can cut like glass. You may find it easier to to put the shells on a cutting board or in a bag and use a rolling pin to break them up.


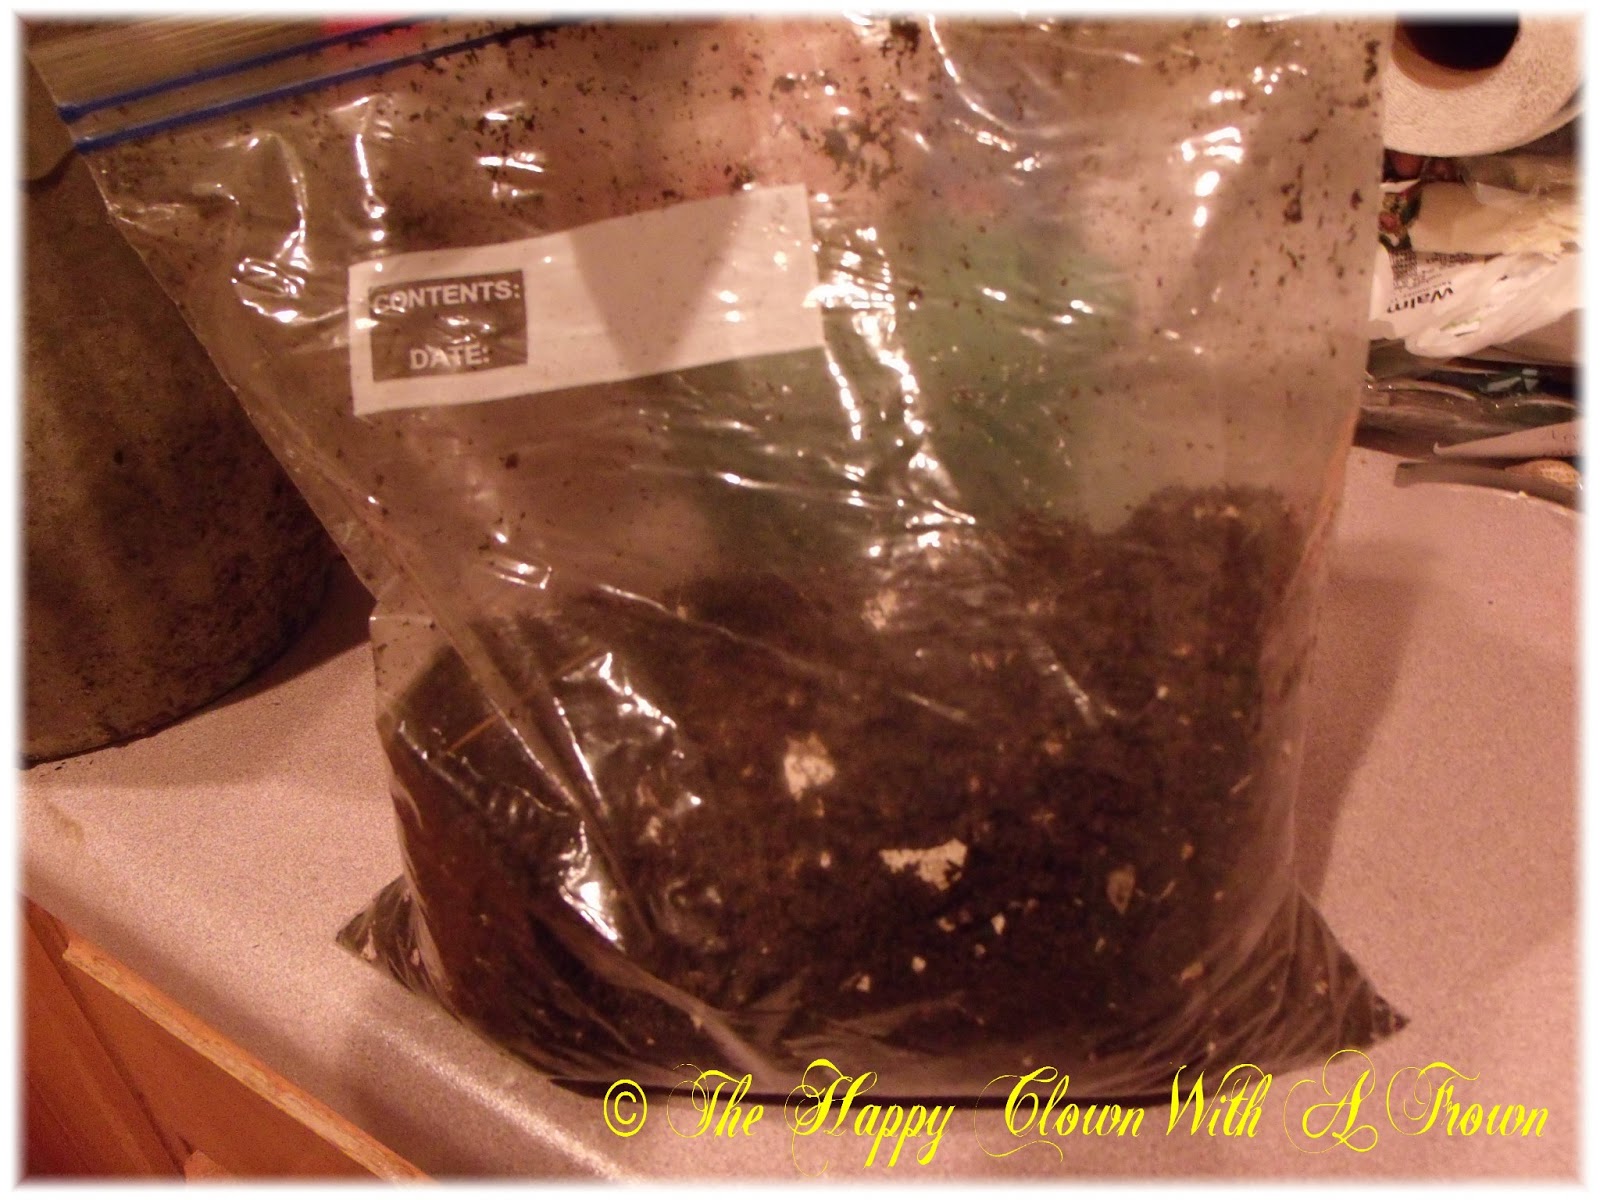
Once mixed well I transfer the soil mixture to a gallon size ziplock-style bag.
Some of the seeds are still floating after 24 hours and some are not. I don't throw any of them out. If they don't sprout it's just more organic material to feed the soil :)

I mixed up this and it was about 3 cups, so I mixed another 4 cups. I like to have the bag about half full of soil.


Once mixed well I transfer the soil mixture to a gallon size ziplock-style bag.
Some of the seeds are still floating after 24 hours and some are not. I don't throw any of them out. If they don't sprout it's just more organic material to feed the soil :)


I just scoop them out of the bowl with my hand or use a mesh colander and then put them in the bag with the soil.
After adding the seeds to the soil, seal the bag and gently knead it or turn it over several times in your hands, being careful not to puncture it or force the top open. Moisten the soil, but don't soak it. You can use a spray bottle to it or like me, use the sprayer at the sink. After moistening it, seal it again and roll it a few times to distribute the moisture.

Using a knife poke about four slits across the top of the bag, below the zipper top. This is to prevent excess moisture from forming and mildewing the seeds and the soil.

Place the bag in the fridge. Don't put it near the bottom or all the way to the back where it might risk freezing. I put mine on the front of the top shelf. I check it periodically just to monitor the moisture and gently turn it over to keep the soil from getting too packed down.
~~~~~~~~~~~~~~~~~~~~~~~~~~~~~~~~~~~
I'll update in May when it's time to sow the seeds and begin growing some trees!
No comments:
Post a Comment